N1 User Guide
MAKING THE MAGIC
1
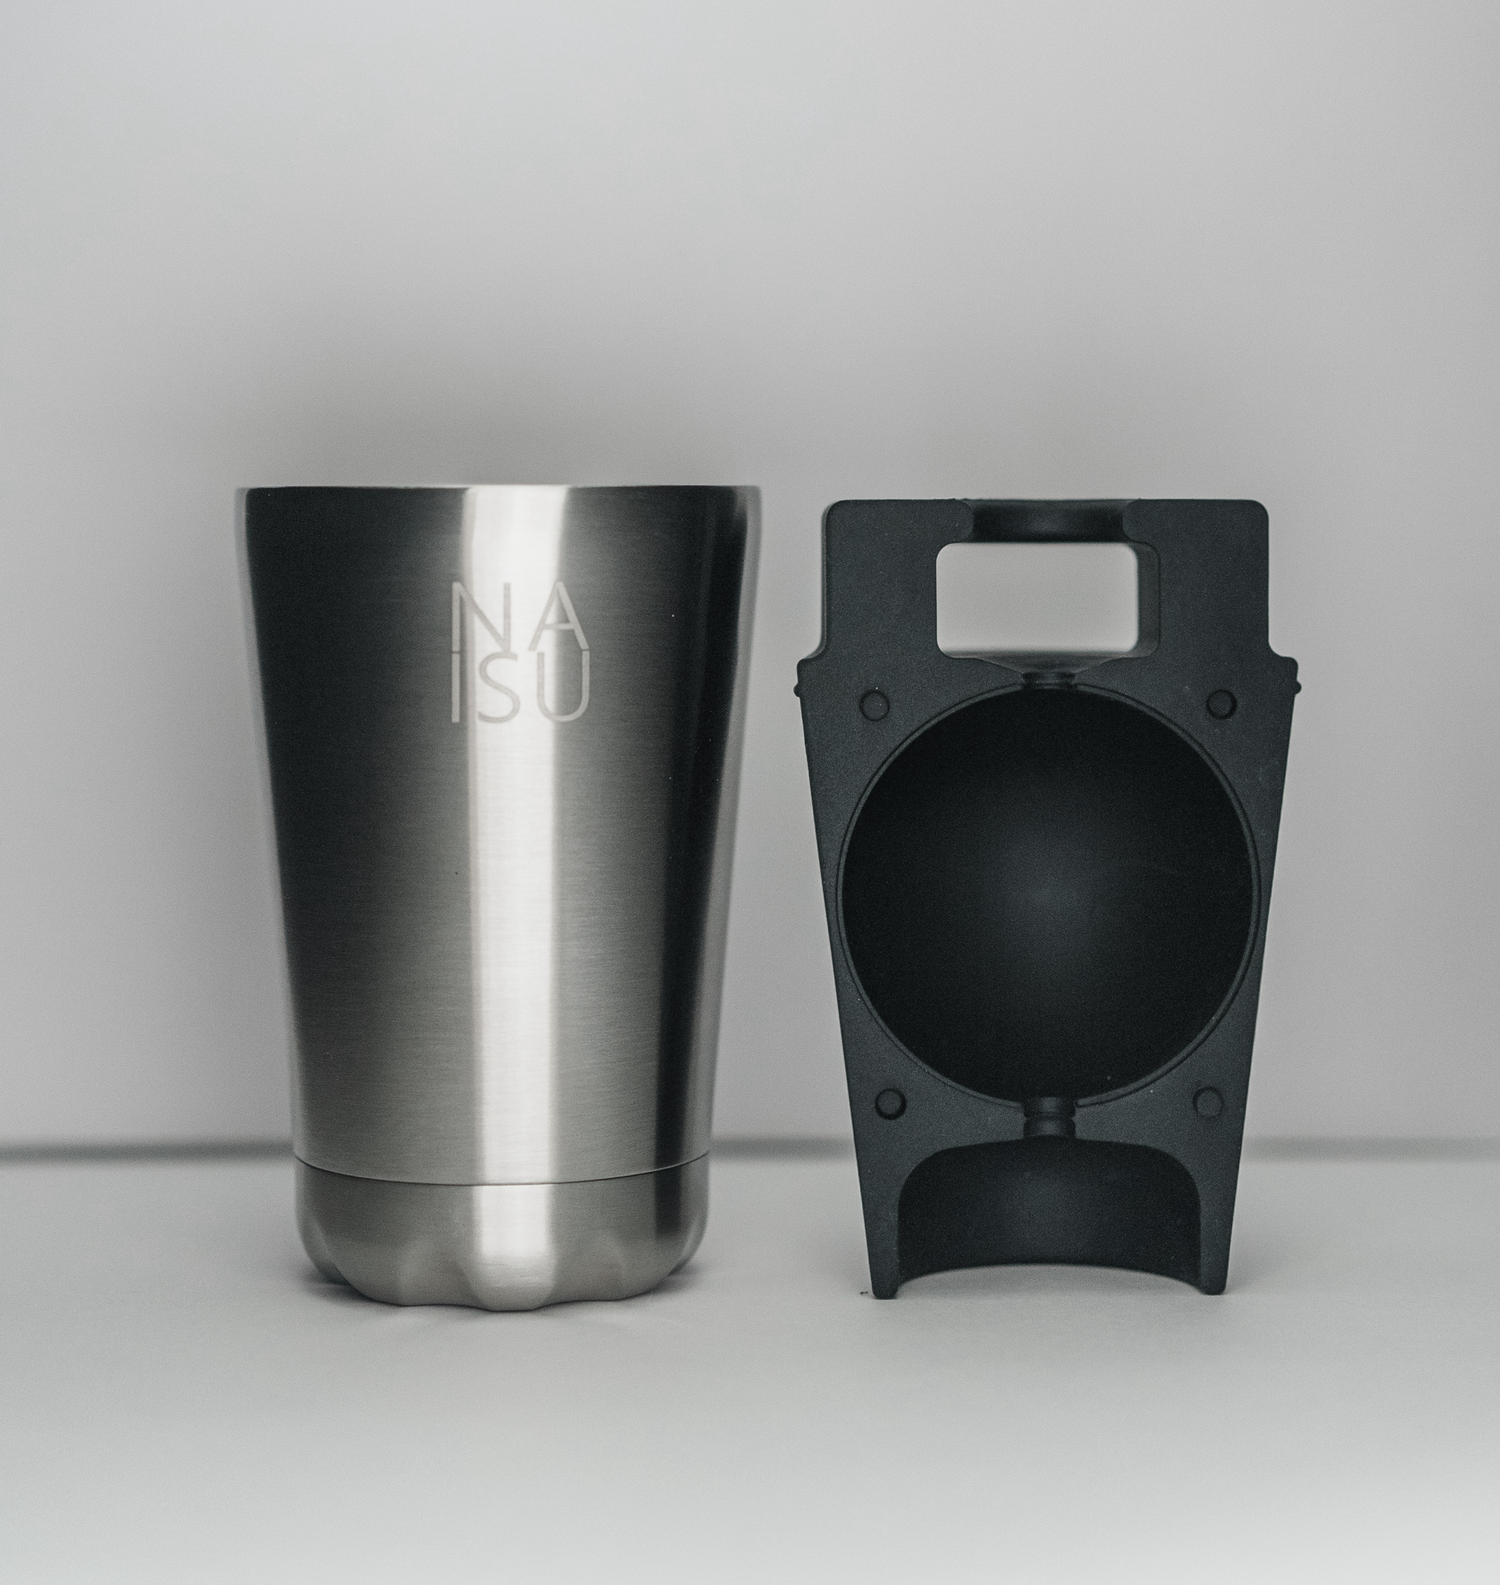
Initial Set Up: For the finest, crystal-clear ice from your NAISU N1 Clear Ice Maker, ensure both the mold and tumbler are well cleaned. Use warm water and mild dish soap to wash away any dust or residue from the mold, avoiding harsh scrubbers or metal utensils when cleaning the tumbler.
2
Fill the tumbler: Fill the tumbler with water until it reaches the shoulder line. This provides the optimal amount of water to fill the ice mold.
WATER QUALITY TIPS
Creating clear ice with the NAISU N1 is easy, and our team uses tap water. However, if you have trouble with tap water, try using distilled water or water filtered with a reverse osmosis system to remove impurities. Boiling the water before freezing can also help make your ice clearer.
3
Insert the mold: Place the tumbler on a flat surface, and insert the ice mold SLOWLY. The reason for the slow insertion is to allow the water to fill the mold cavity completely within the NAISU N1.
There should be some excess water that emerges from the sides of the tumbler. This is normal and expected.
4
Spank the tumbler: Firmly strike the sides of the tumbler several times around it. This helps dislodge air bubbles clinging to the surface, which would otherwise form imperfections in the clear ice.
Be vigorous—don't hold back!
5
Push mold down: Finally, press the mold downward with your palm. This action will expel more water from the mold.
The purpose is twofold: (a) to create a seal between the silicone ice mold and the tumbler, and (b) to ensure that a small amount of excess ice forms at the top of the mold.
*Use a light firm pressure. Do not over press or the mold can get stuck, damaging the tumbler.
MEETING THE MAGIC
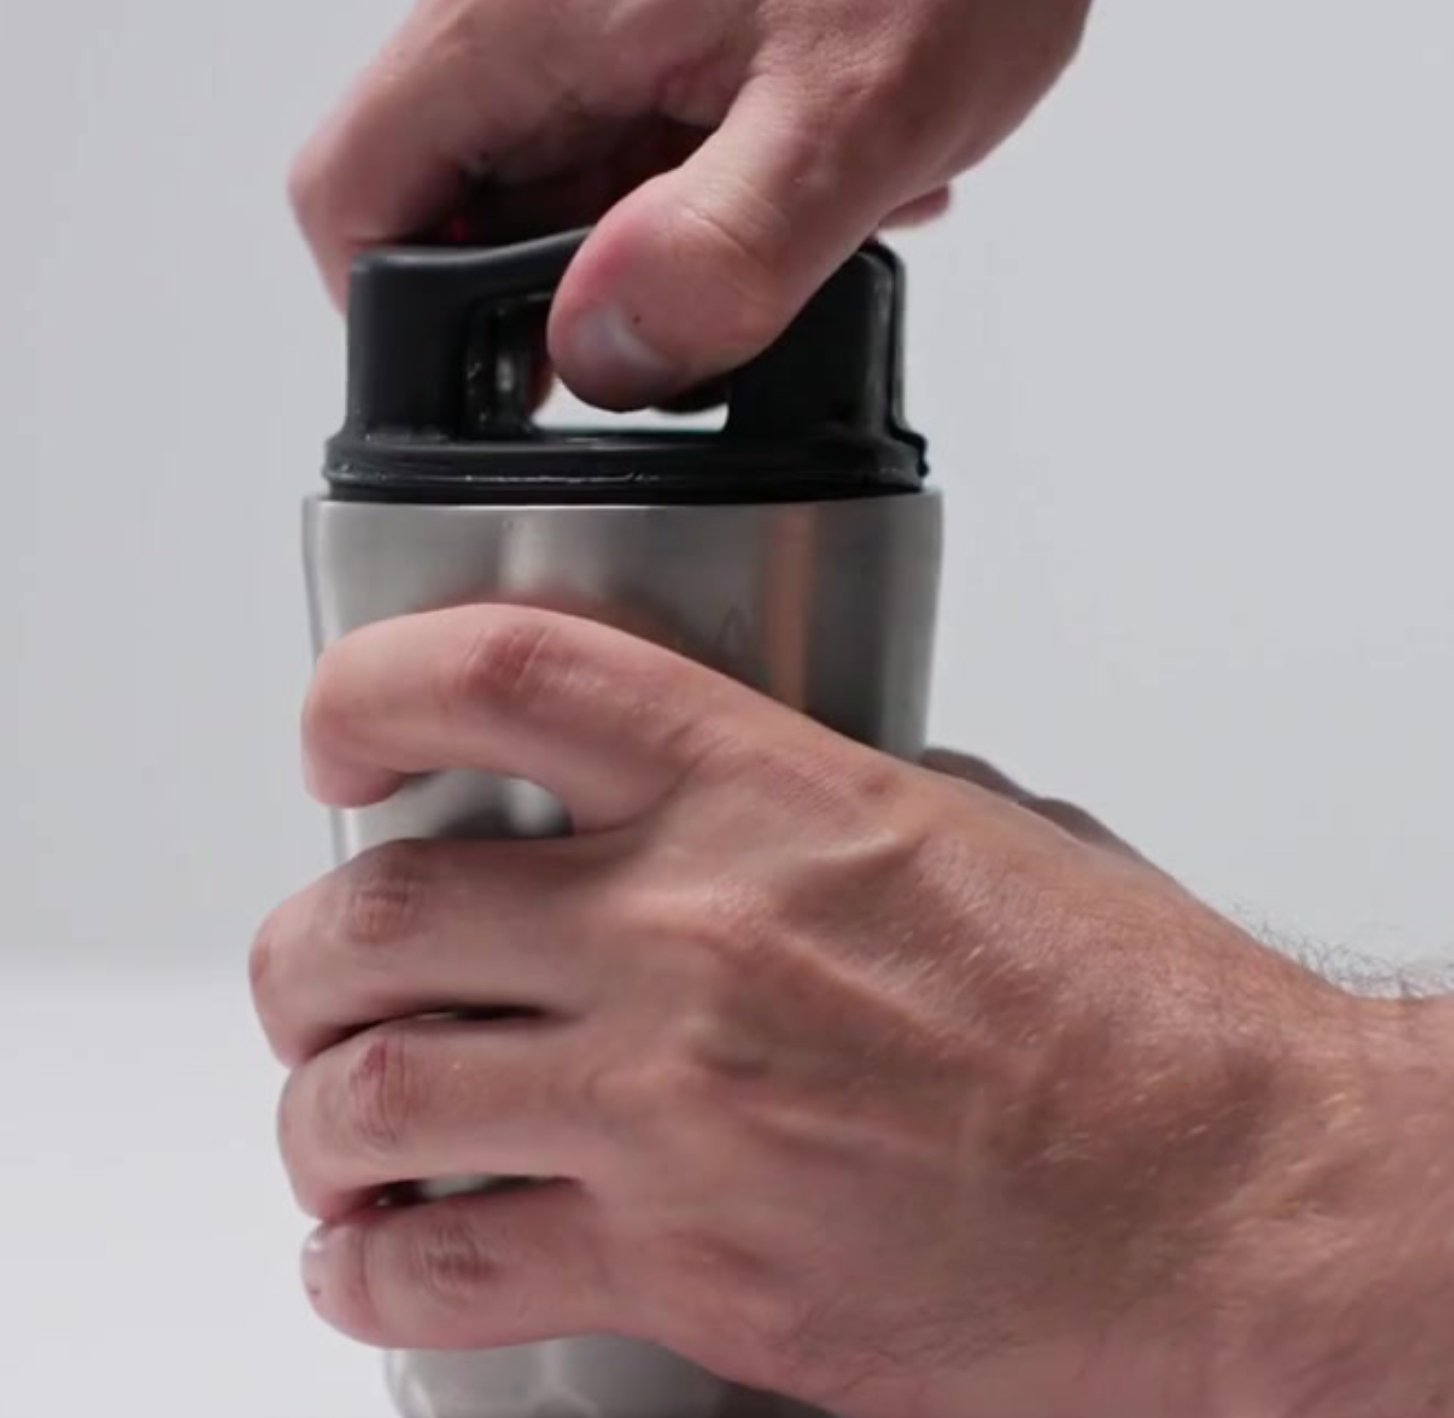
6
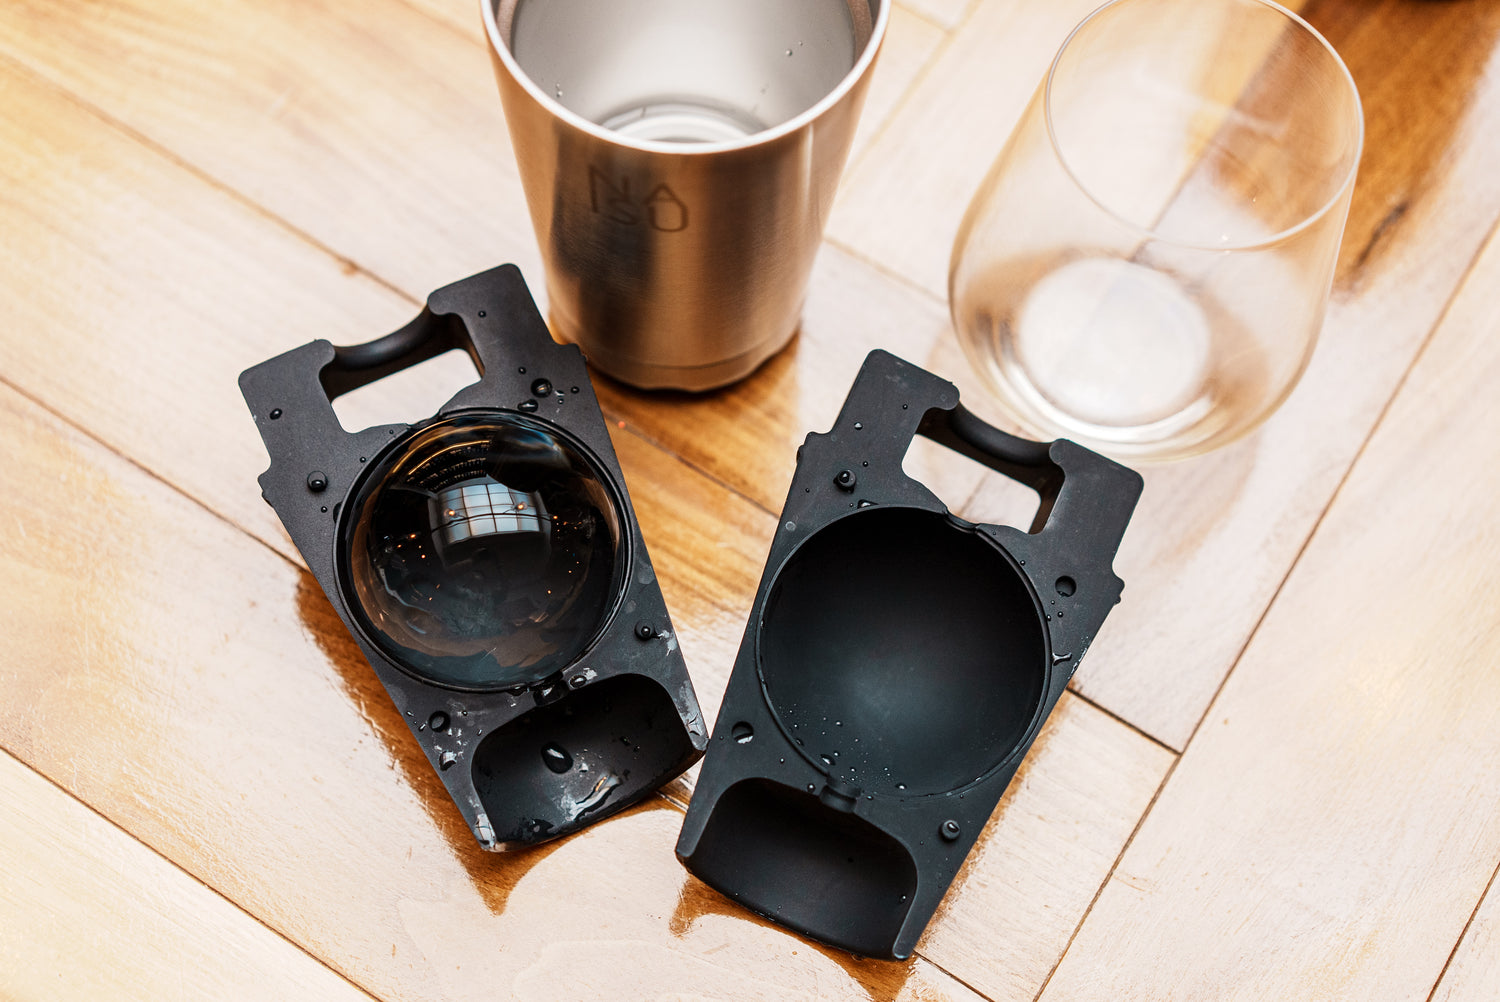
Removal of Ice
After 16-20 hours of freezing, the ice will expand and naturally push the mold slightly out of the cup as a result of our Self Ejection Technology. Once this happens, you can remove the tumbler from the freezer. Simply twist the handle to release the mold and effortlessly remove the ice sphere.
7
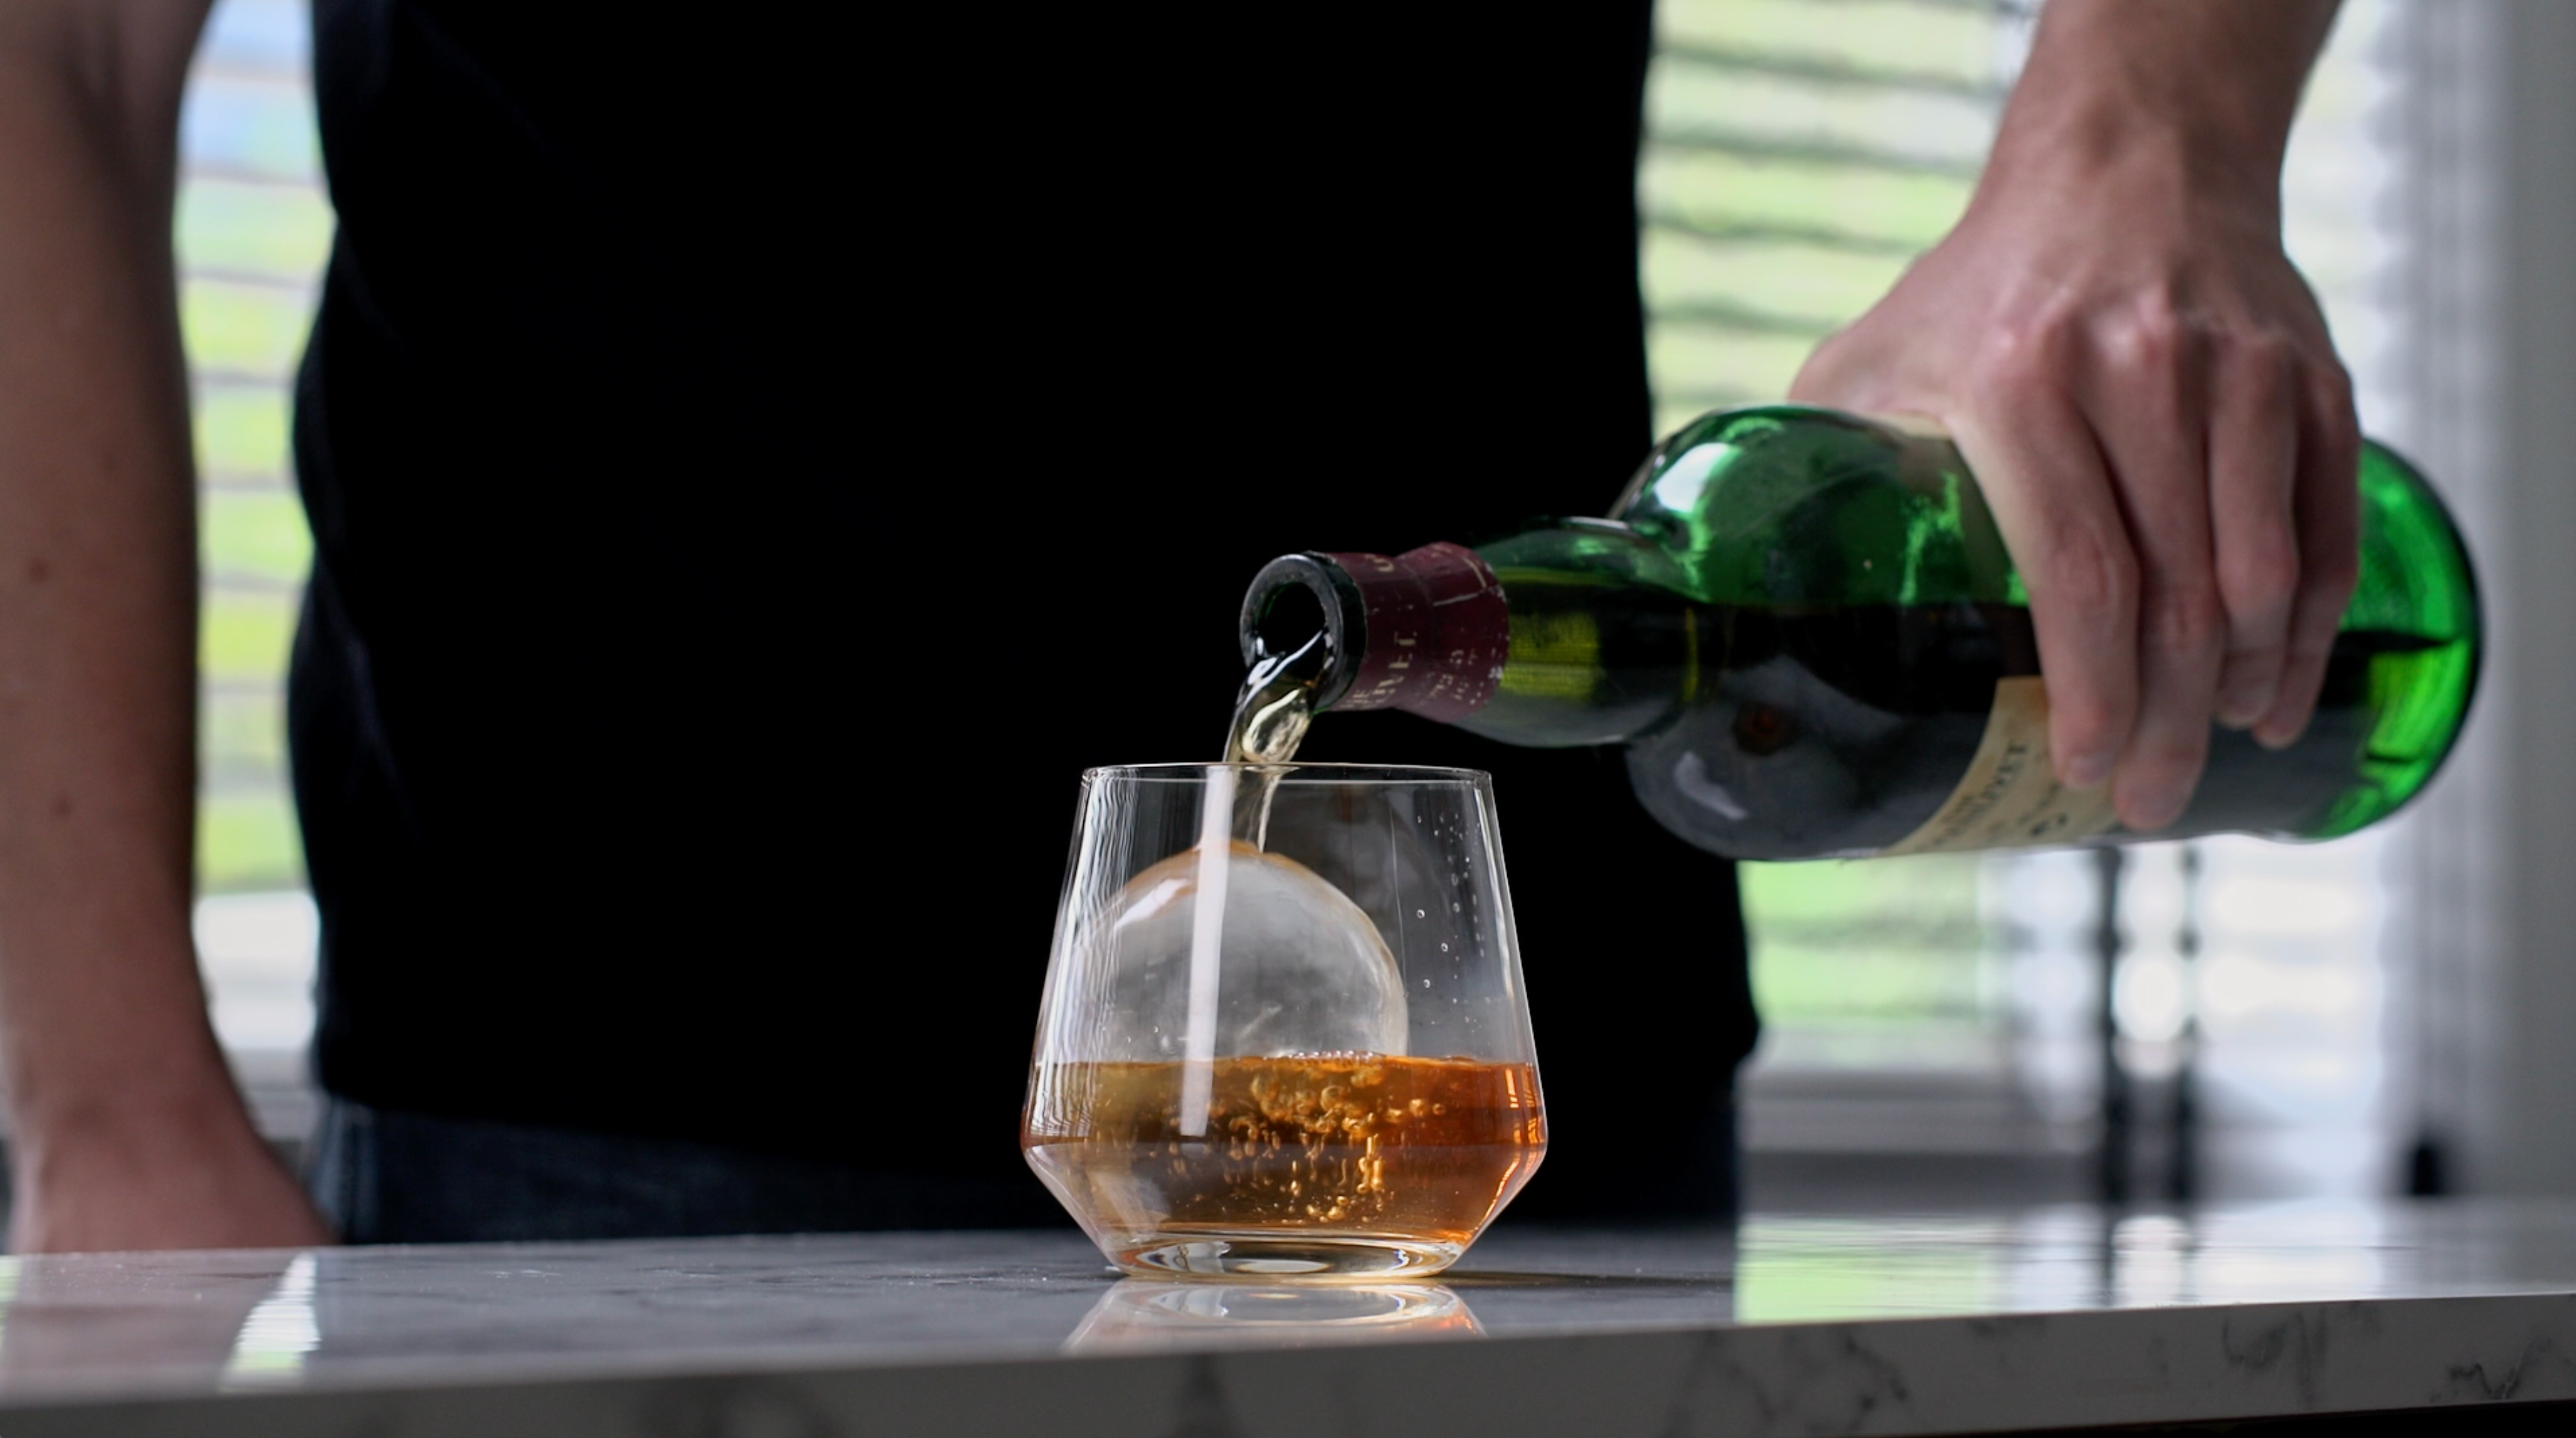
Tempering of Ice
To prevent ice cracking, allow the ice to temper by resting in a glass for at least 2 minutes before pouring any liquid onto it. This process helps normalize the ice's temperature, ensuring it remains intact and visually appealing.
MAINTAINING THE MAGIC
8
CLEANING
Keeping it in top condition is simple: after each use, just wash the silicone mold and stainless-steel cup with water and mild dish soap. Although dishwasher-safe, it's not always necessary for your NAISU N1.
In the event that the dishwasher is used, avoid rinse-aid to prevent any residue on the silicone mold. This would ensure the crystal-like clarity of the ice.
In case rinse-aid is inadvertently used, fully immerse the silicone mold in boiling water for 1-2 minutes to remove any residue or impurities left on the silicone mold before continuing to make subsequent batches.
9
STORAGE
Properly store your NAISU N1 to maintain its longevity and performance. Ensure the mold is dry before storage to prevent mold growth and store it in a cool, dry place to preserve its durability and performance. As for the tumbler cup, ensure thorough washing and drying before storage too.
MORE MAGIC
Making flavored ice spheres
Get creative with your ice by adding fruit juices, herbs, or edible flowers to the mold for unique, flavored, or infused ice spheres. While these additions may result in slightly cloudy ice due to the impurities they introduce, they offer delightful variations to enhance your beverages.
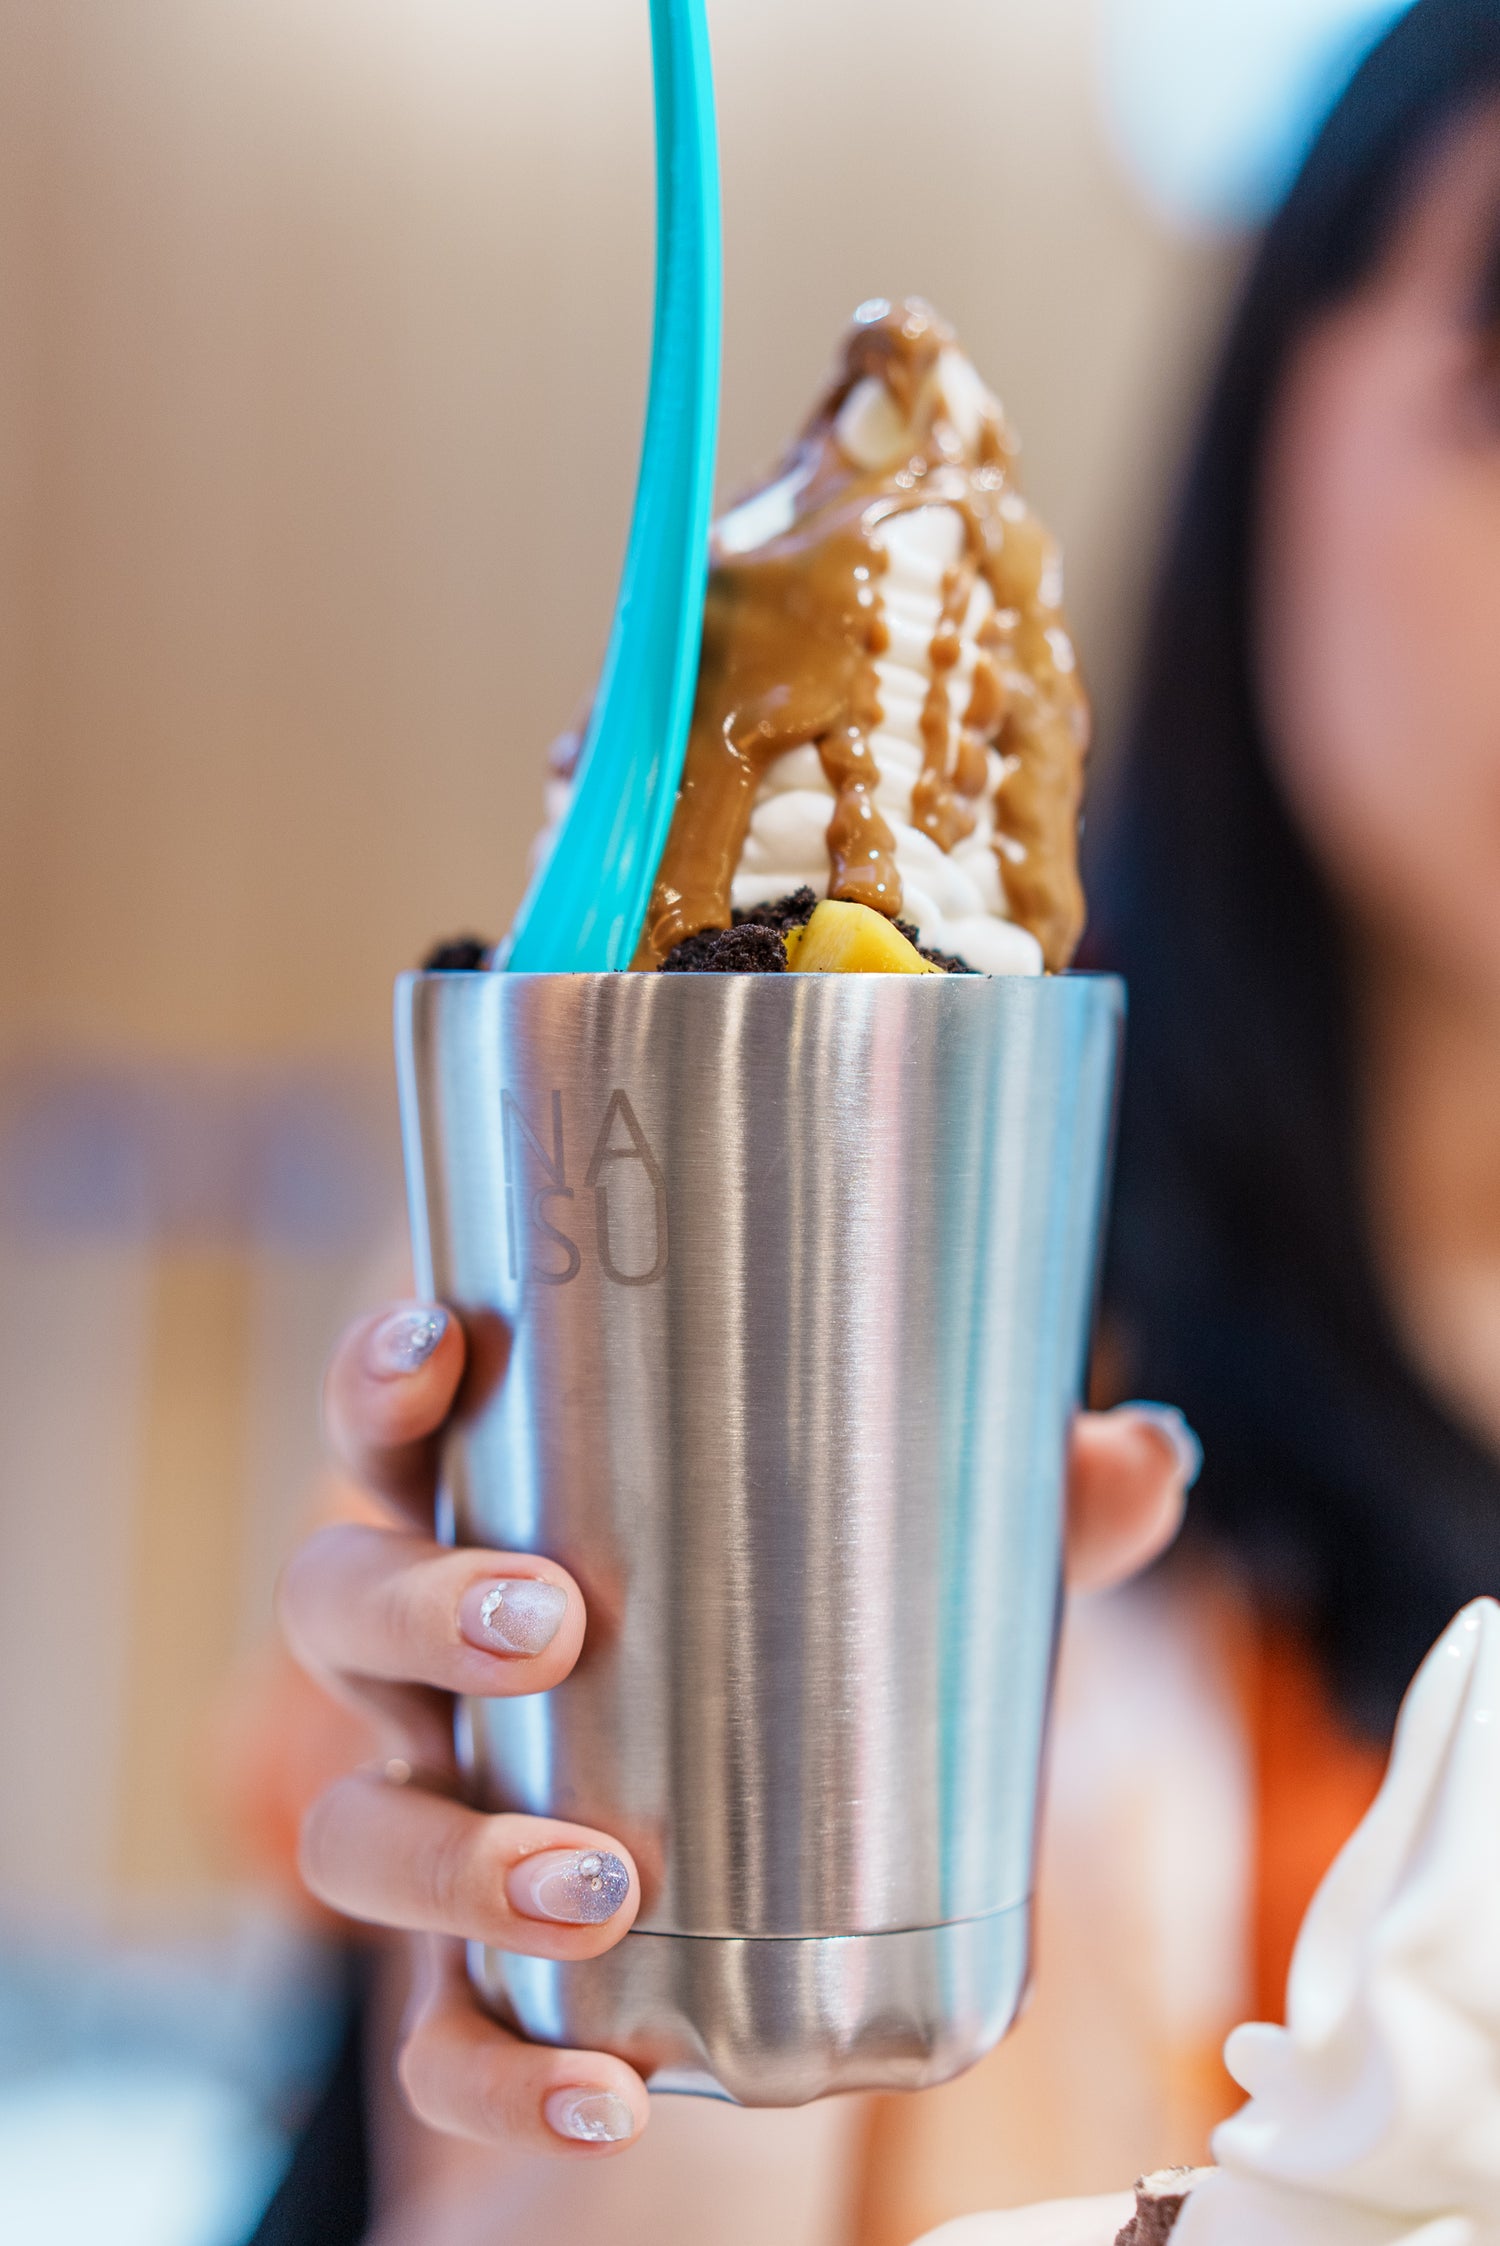
Versatile Function
The insulated tumbler included with your NAISU N1 is incredibly versatile. It keeps beverages and desserts hot or cold, making it perfect for home use or on-the-go enjoyment. You can even use it to keep frozen yogurt from melting while you savor every bite.